Special Holiday Gifts 2025
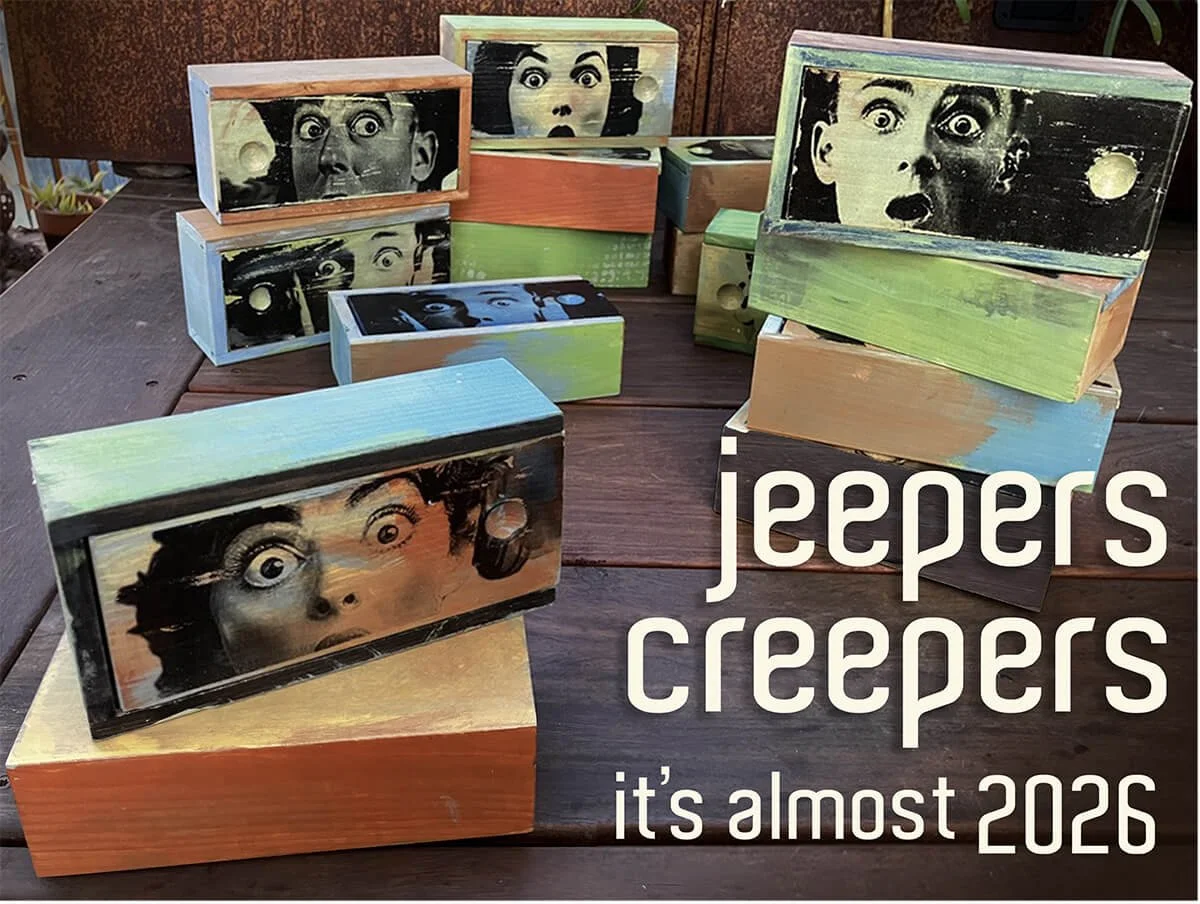
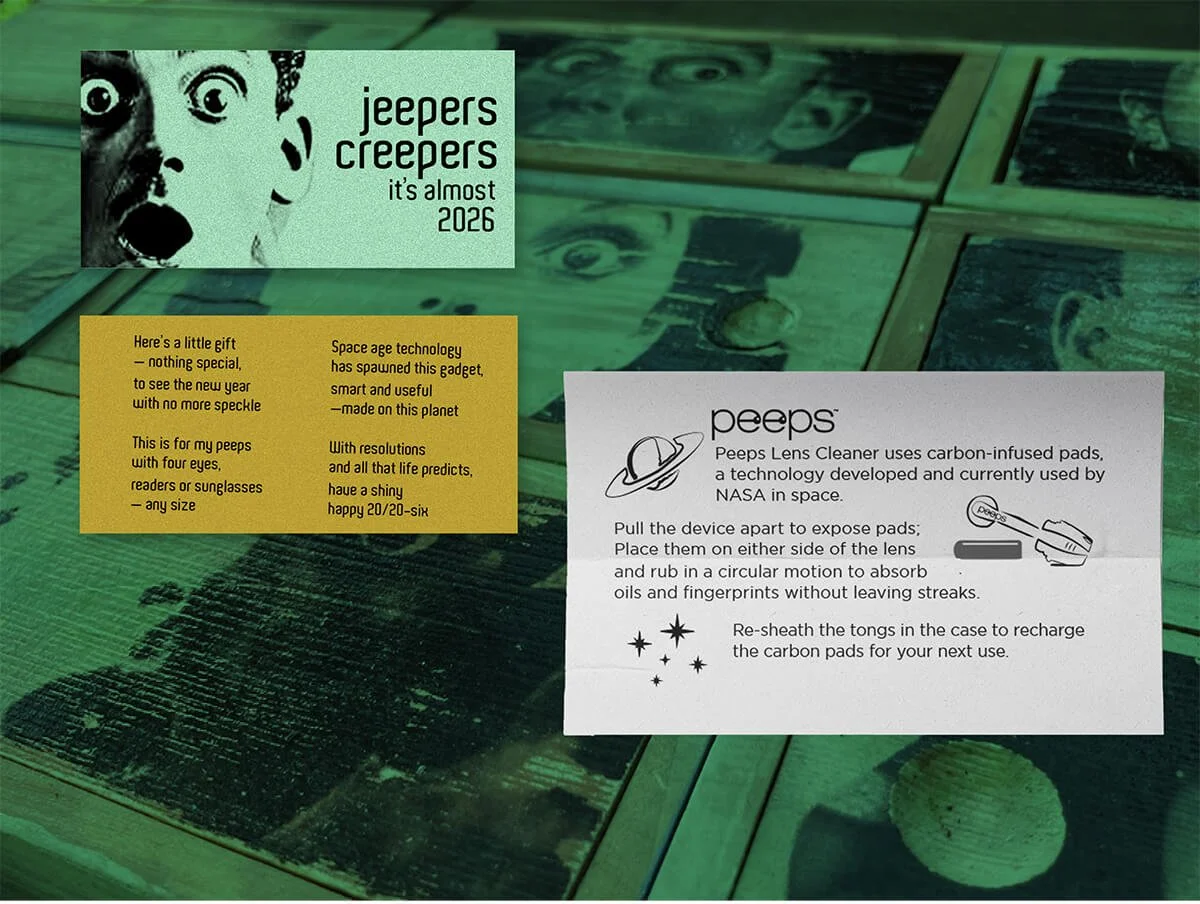
Jeepers Creepers Another Year is Gone!
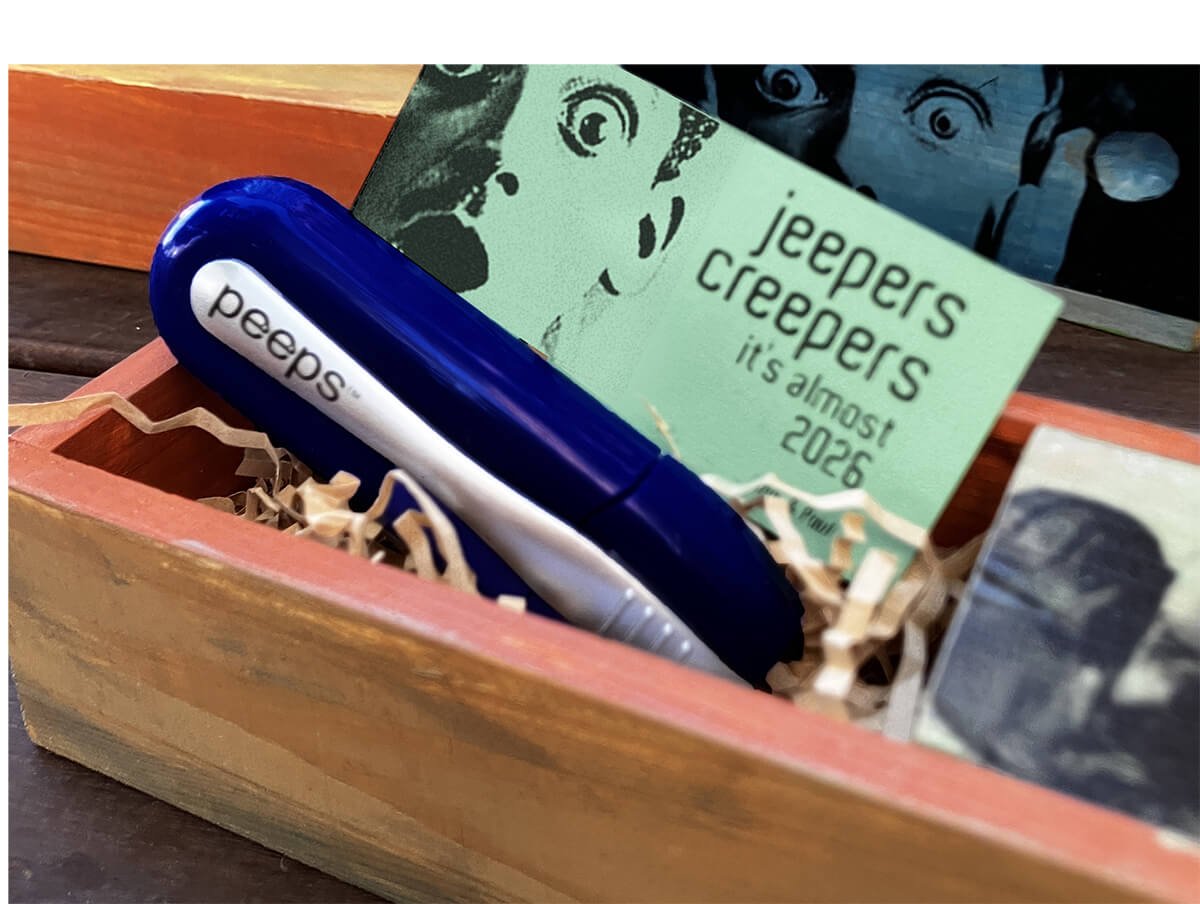
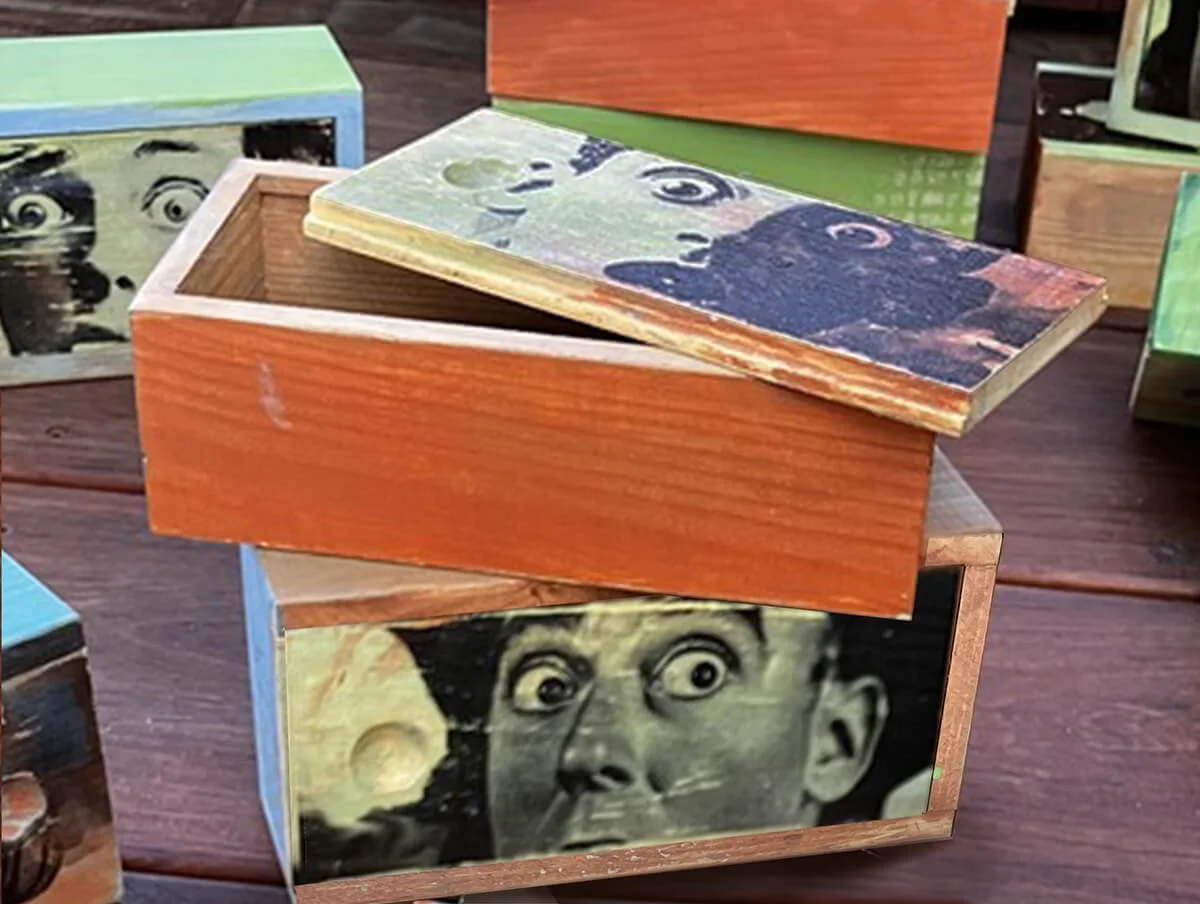
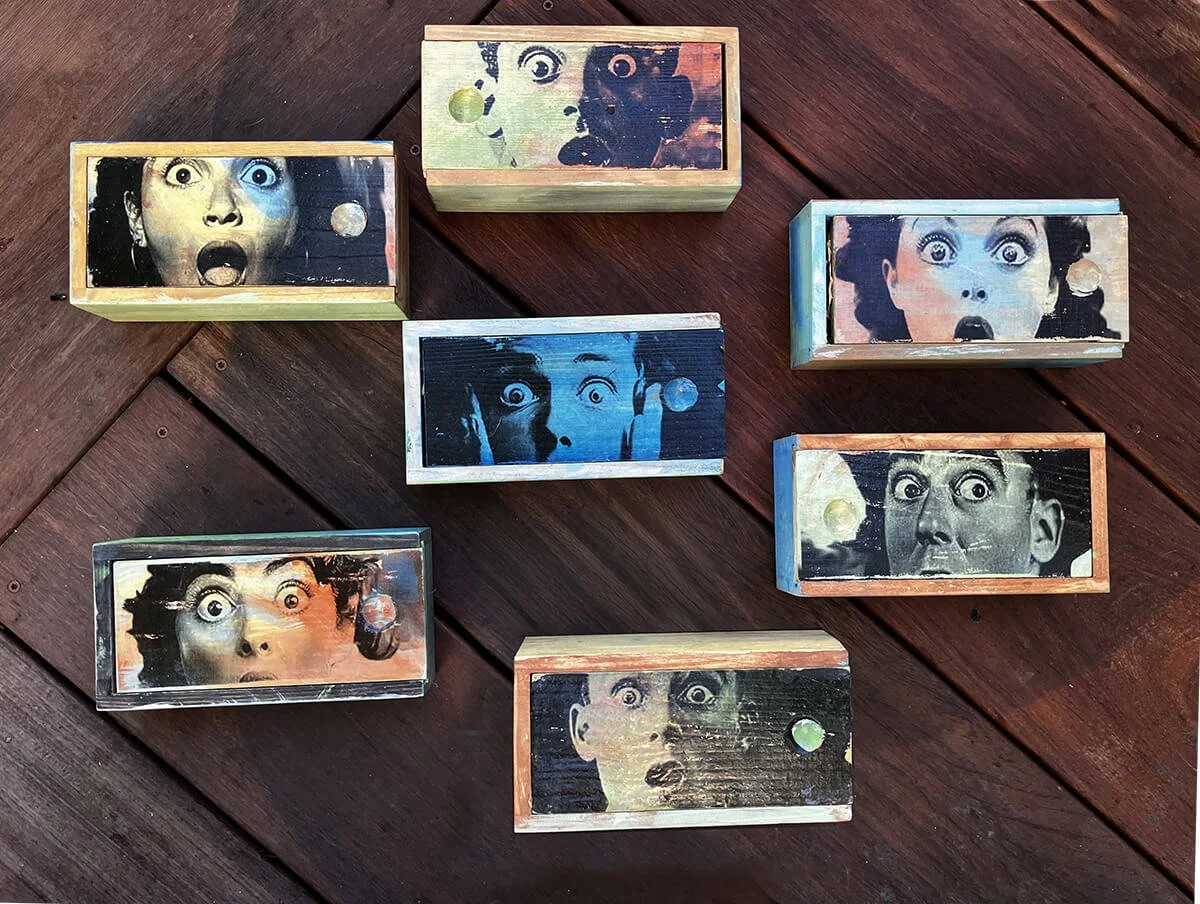
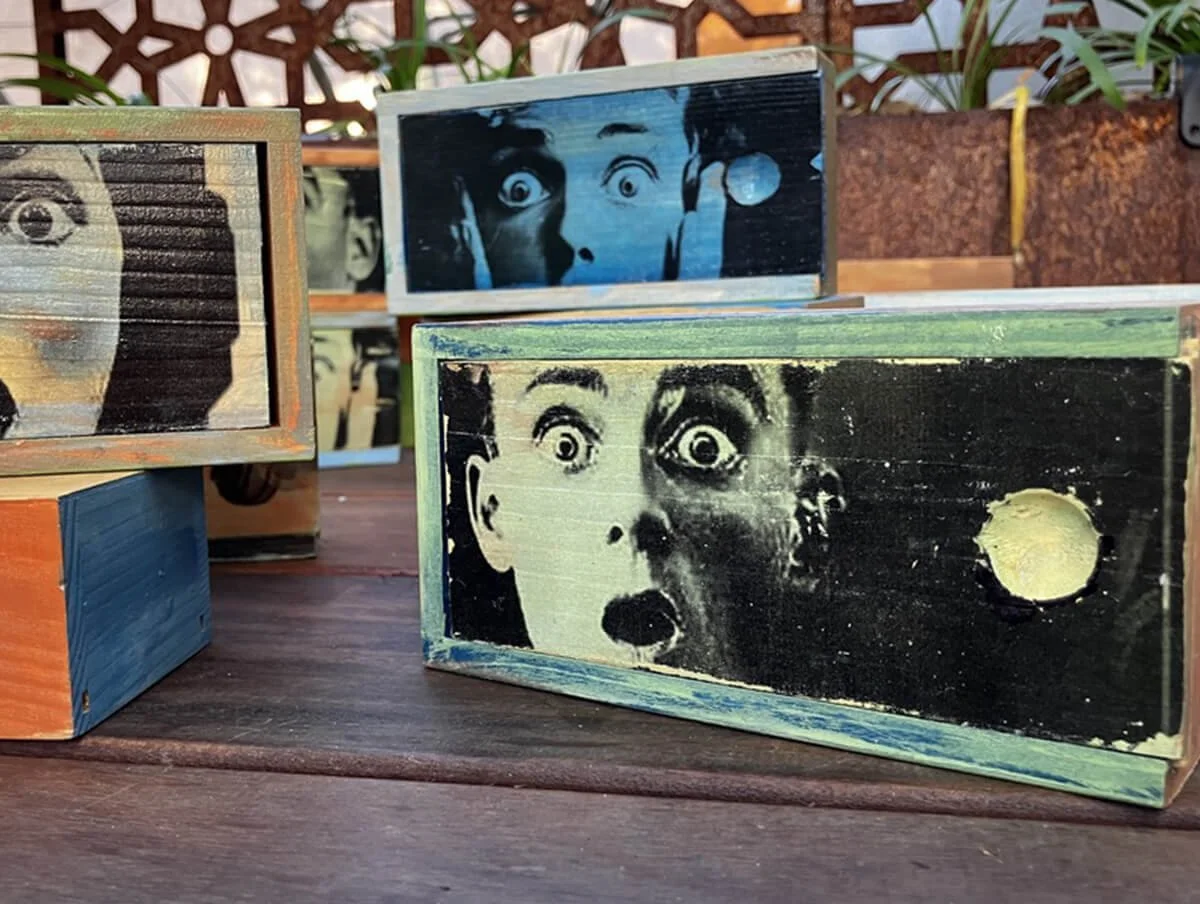
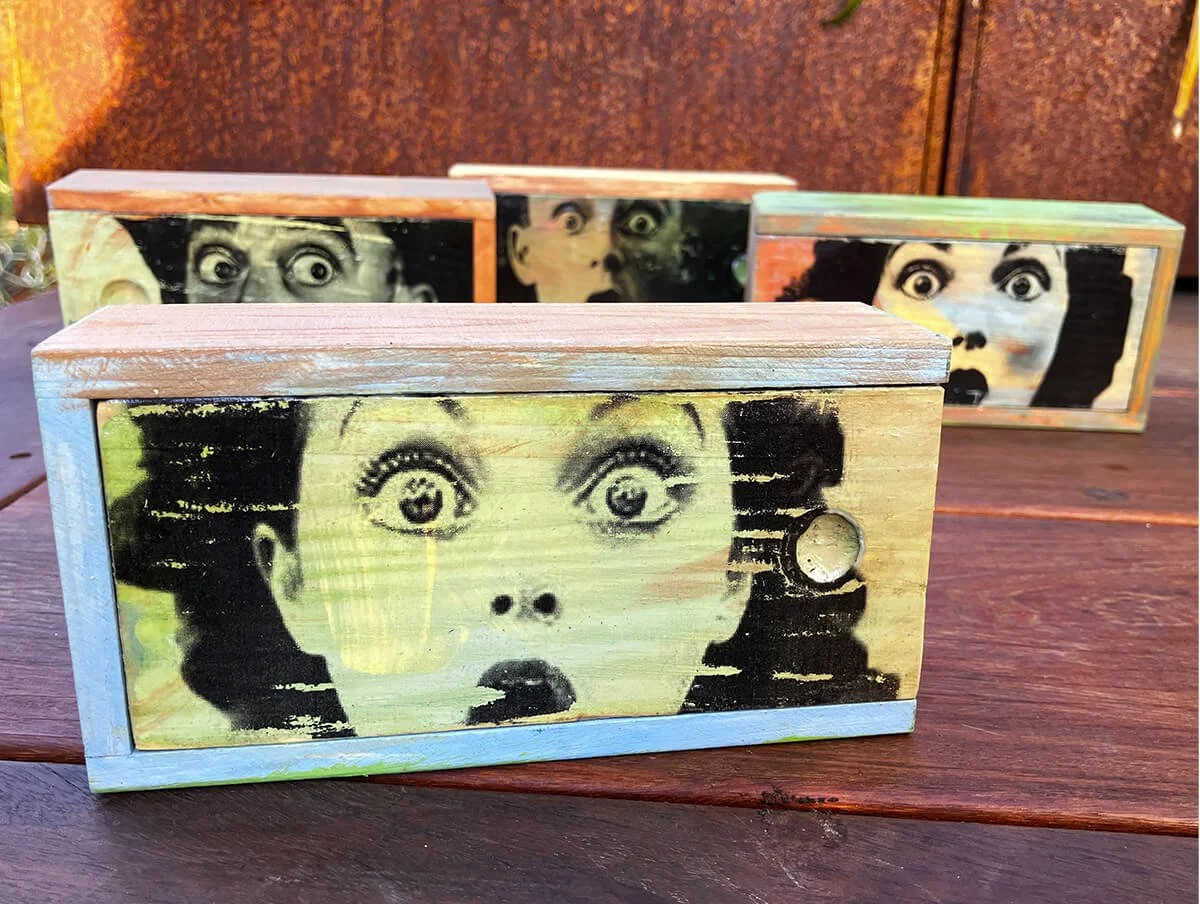
Some of our peeps get something special every holiday.
This was a fun, personal project and isn’t that hard to do. Look below for a description of how I put this together.
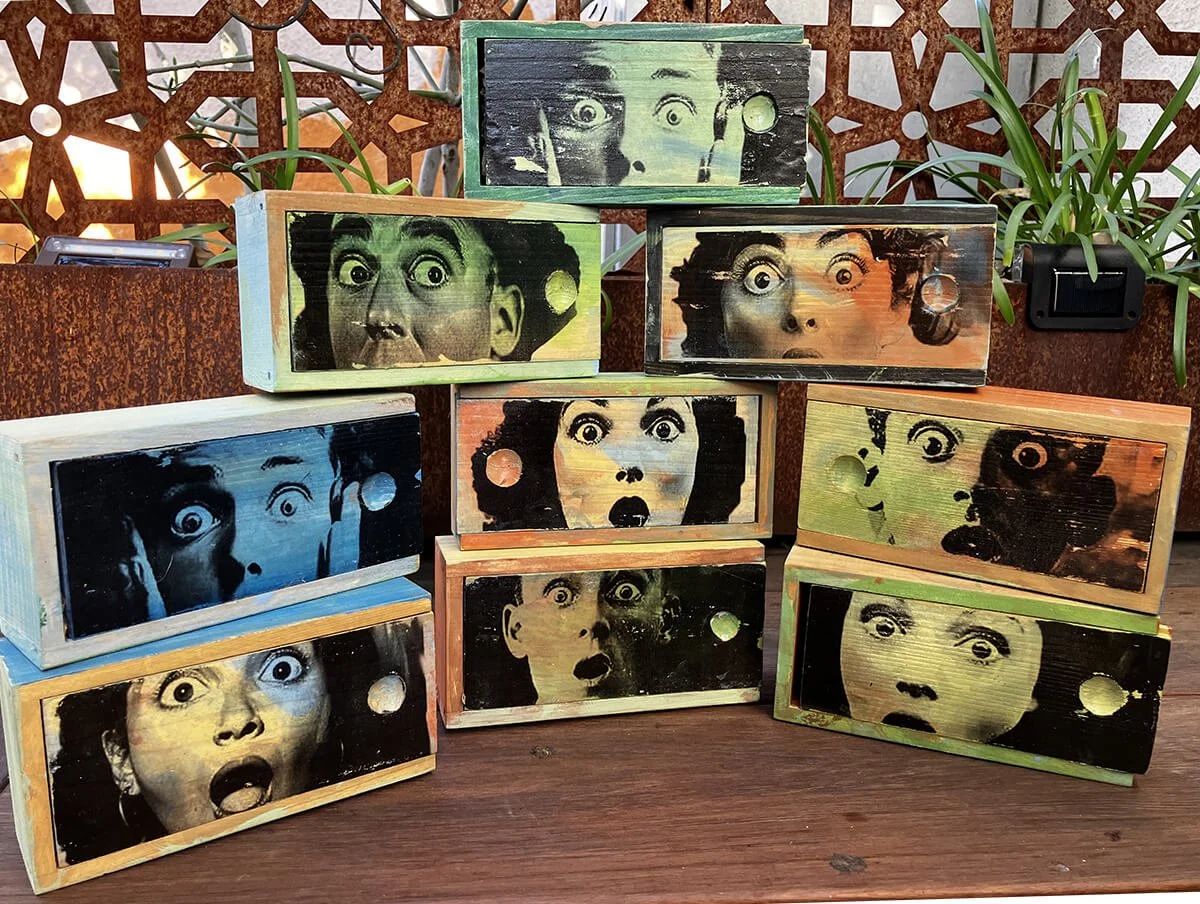
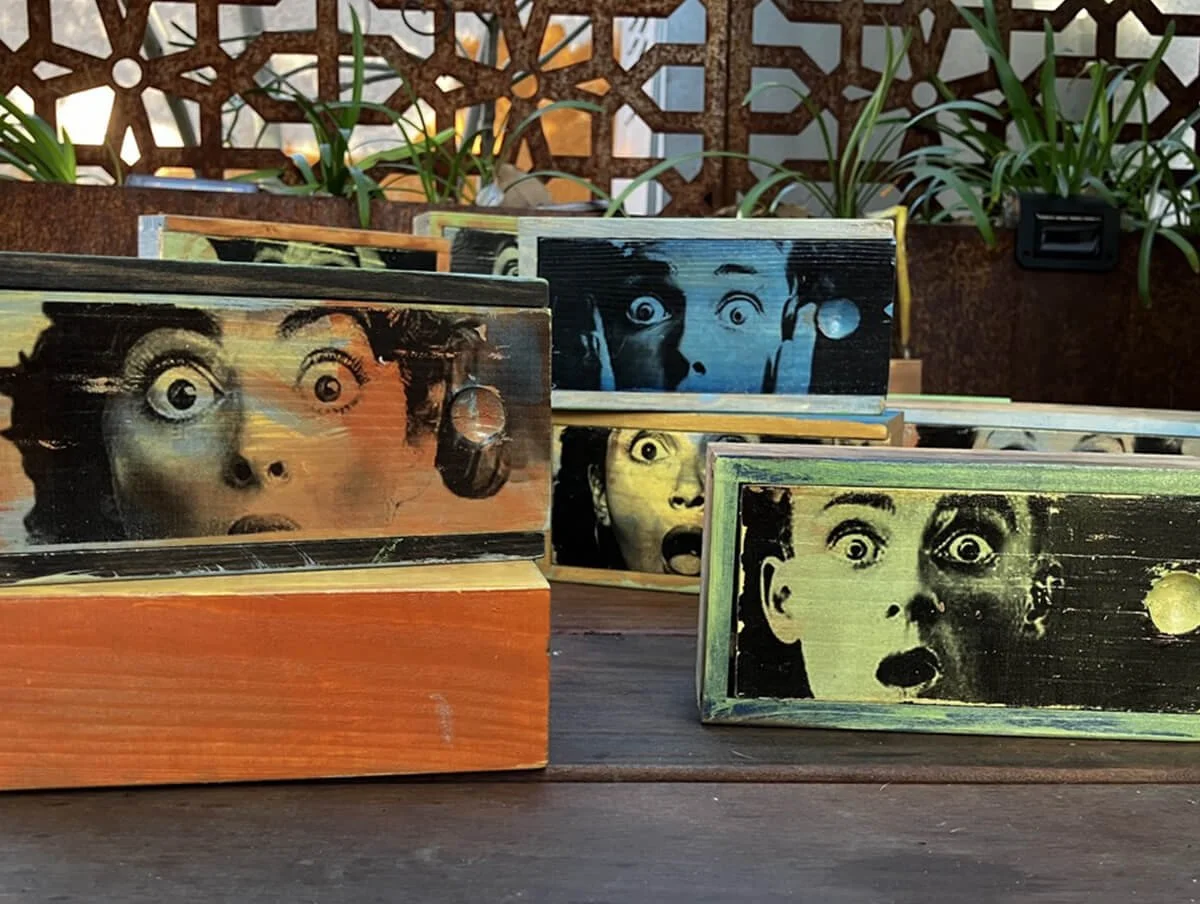
Beautifully imperfect.

If you’re interested, here’s how it was done.
Here’s a
step-by-step guide for Laser Print Photo Transfer on Wood
Materials Used*
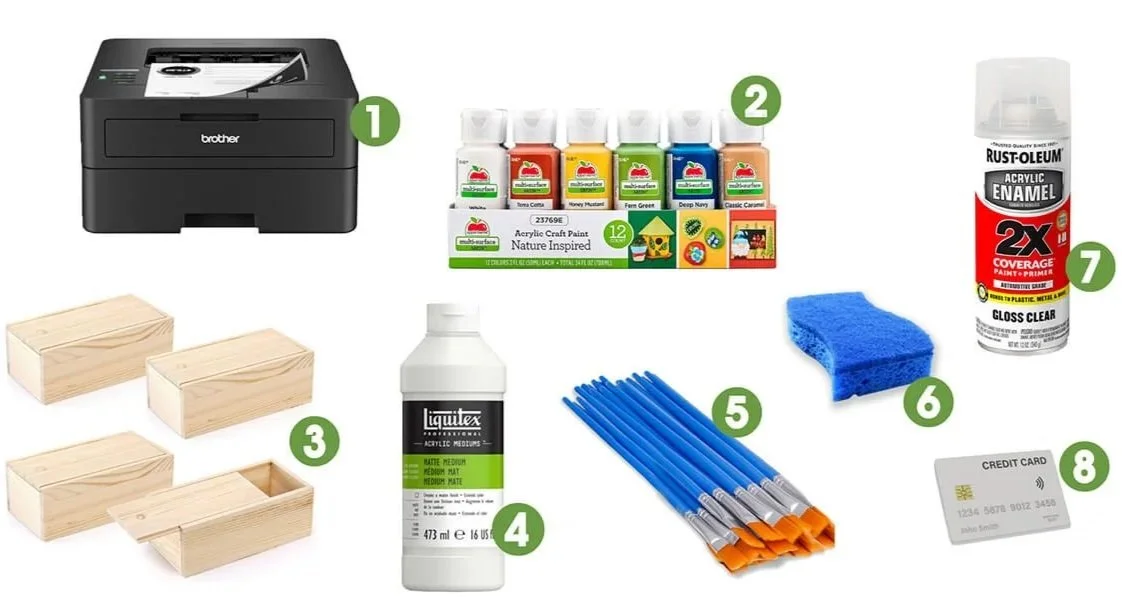
Laser Printer (mirrored) - I use this old Brother laser printer with regular bond paper (or thin paper)
Paint - Apple Barrel, Nature Inspired Colors, Acrylic Craft Paint Set
Unfinished Slide Boxes - 4 Pack Wooden Storage Box with Slide Lid
Medium (Better than Mod Podge) - Liquitex Matte Medium
Paintbrushes- I like 1 inch flat paint brushes
Water + soft sponge
Clear sealer - Acrylic Enamel Spray Sealer
Old credit card
How I did it
How to Transfer Laser-Printed Images onto Wood
A Step-by-Step DIY Image Transfer Tutorial
Transferring laser-printed images onto wood is an easy and creative way to make custom decor, keepsake boxes, and handmade gifts. This DIY wood image transfer tutorial walks you through the process I used, including materials, and tips.
Best results: This method works best with laser printer image transfers on wood, especially black-and-white prints.
Step 1: How to Print Images for Wood Transfer
Start by selecting images. So many images can be found online (temu.com- search for “vintage ephemera”) — but always check copyright rules if you plan to sell your finished pieces. I used mine as gifts and did not profit from the artwork.
For best results:
Scan and resize your image to fit the wood surface.
Mirror (flip horizontally) the image before printing—this is critical, especially for text.
I printed using a black-and-white Brother laser printer. Inkjet printers may behave differently, so testing is recommended if you go that route.
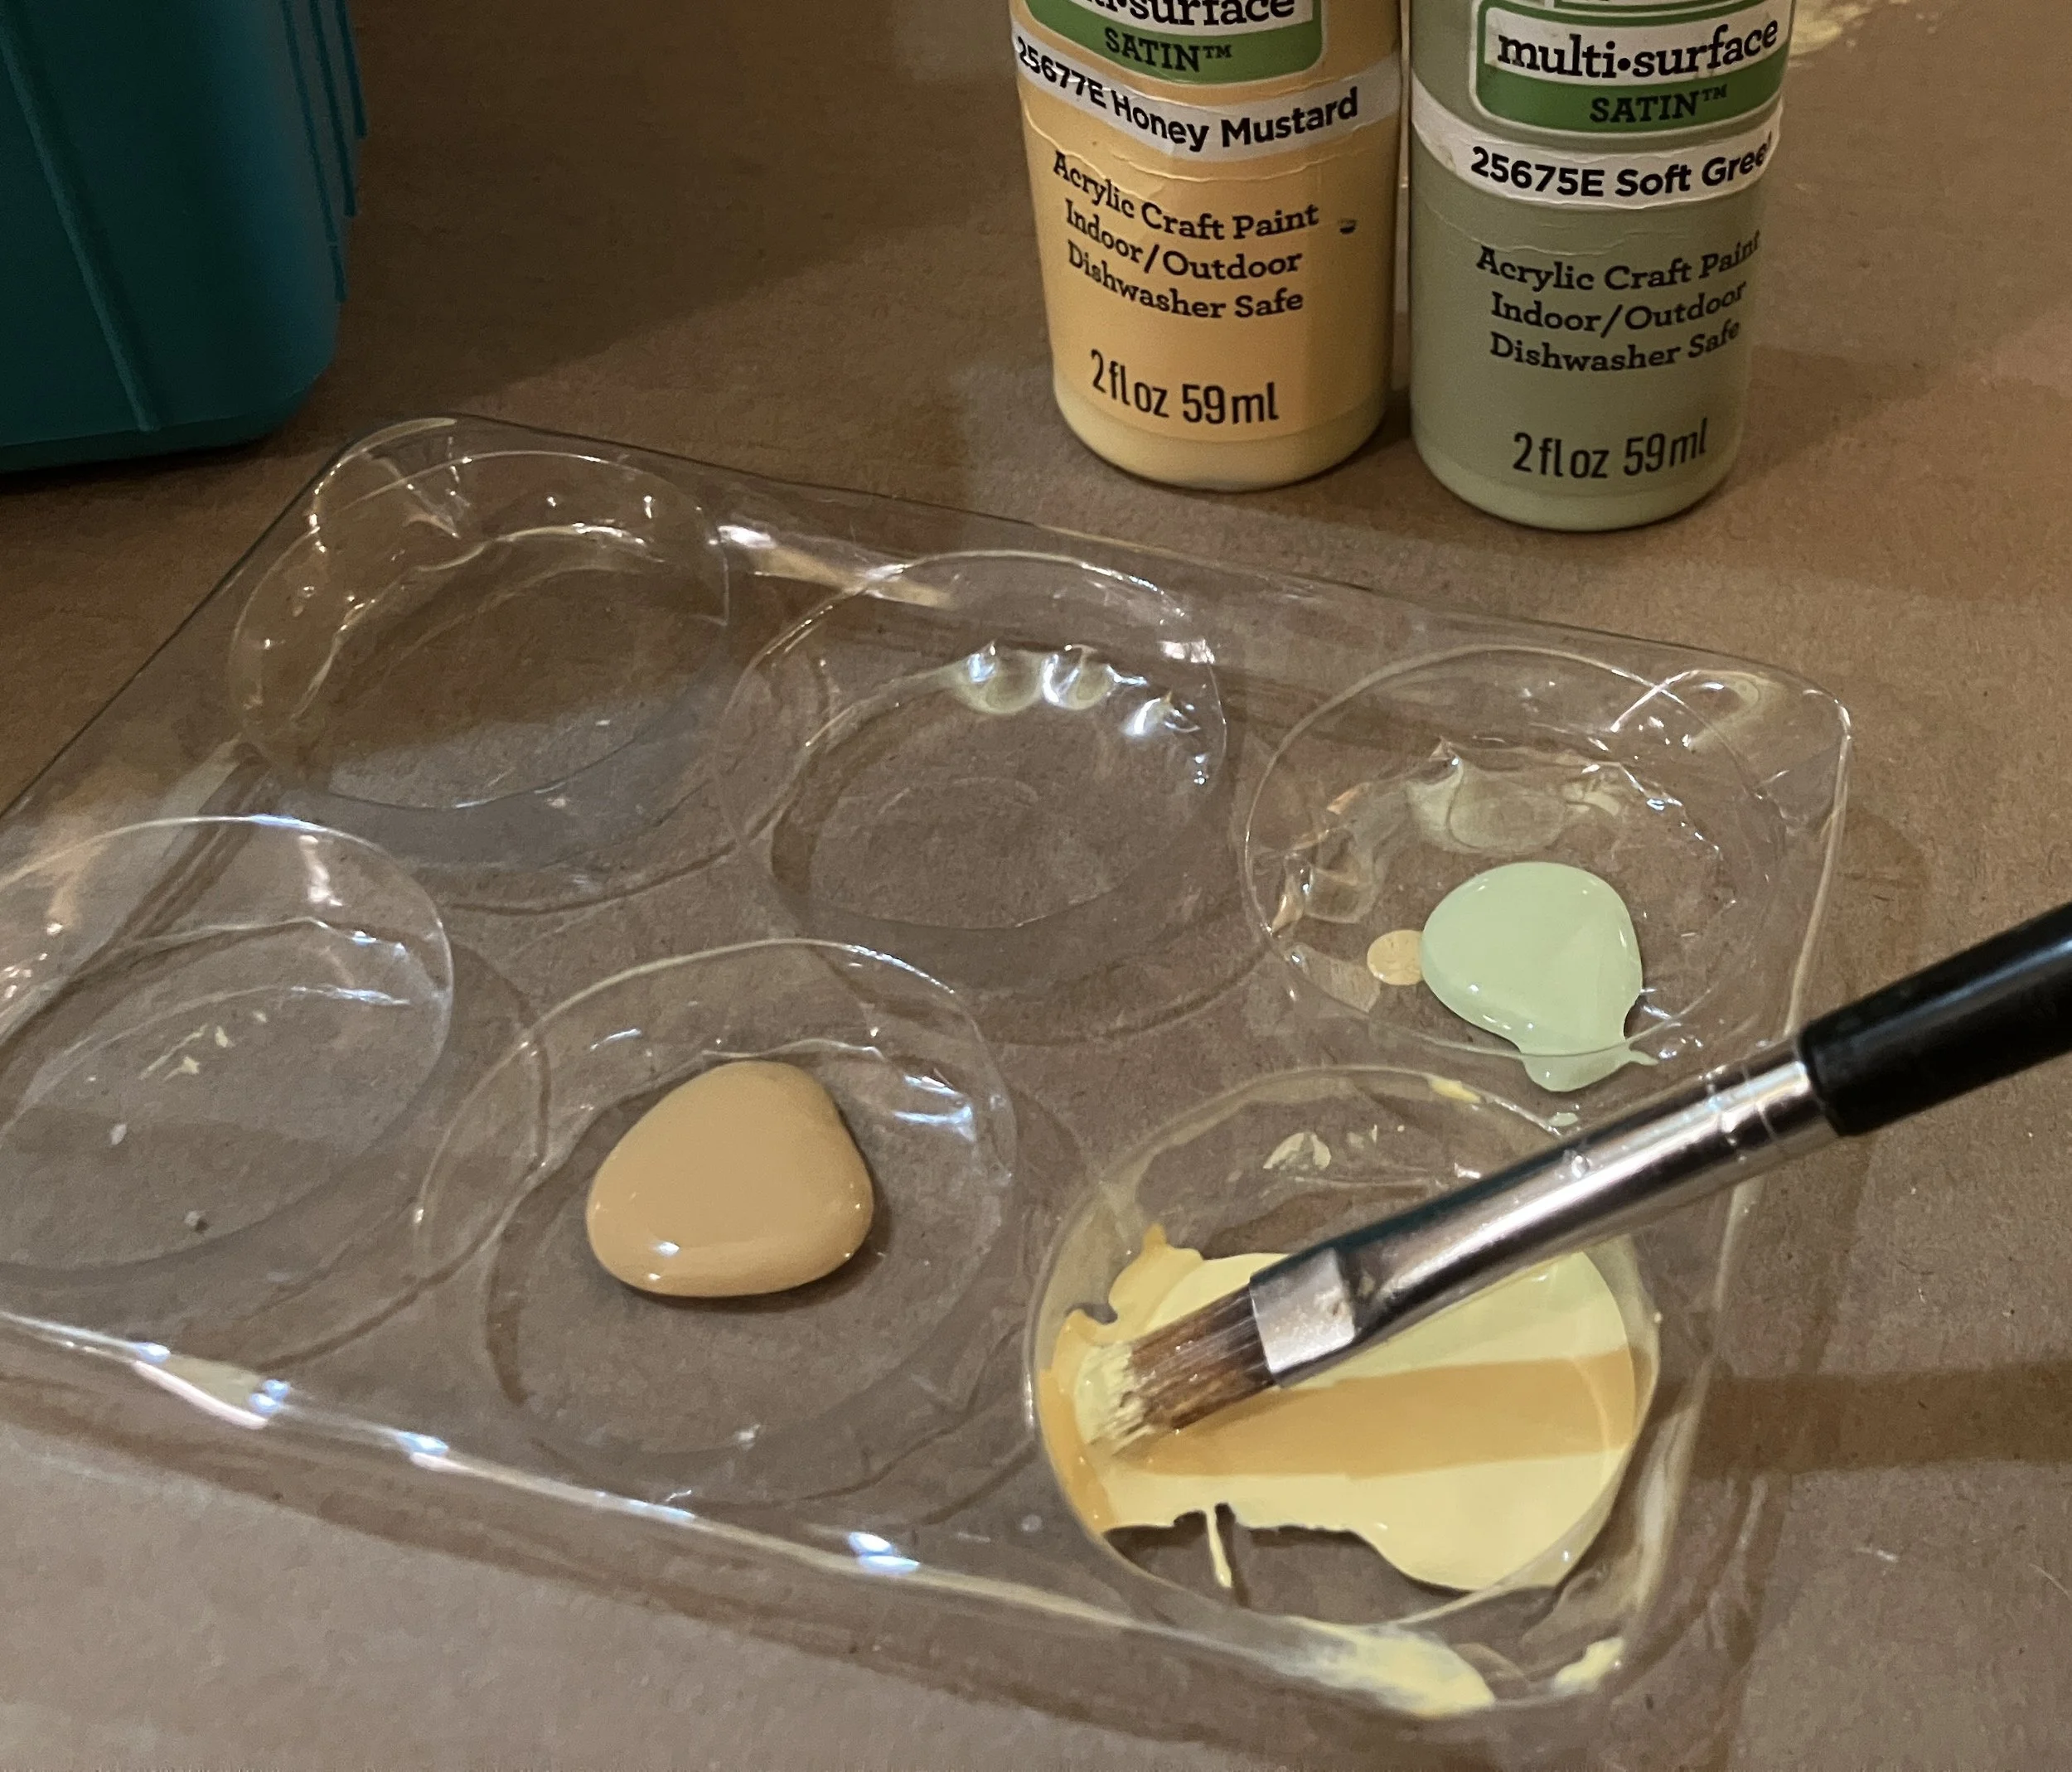
Step 2: How to Prepare and Paint Wood for The Image Transfer
Ensure the wood surface is clean, dry, and smooth.
Lightly sand rough areas, if needed.
Paint the background (under the image)
I used a Craft Paint Acrylic Set with muted, organic tones. I applied the paint in loose, layered splotches—mixing colors and overlapping them.

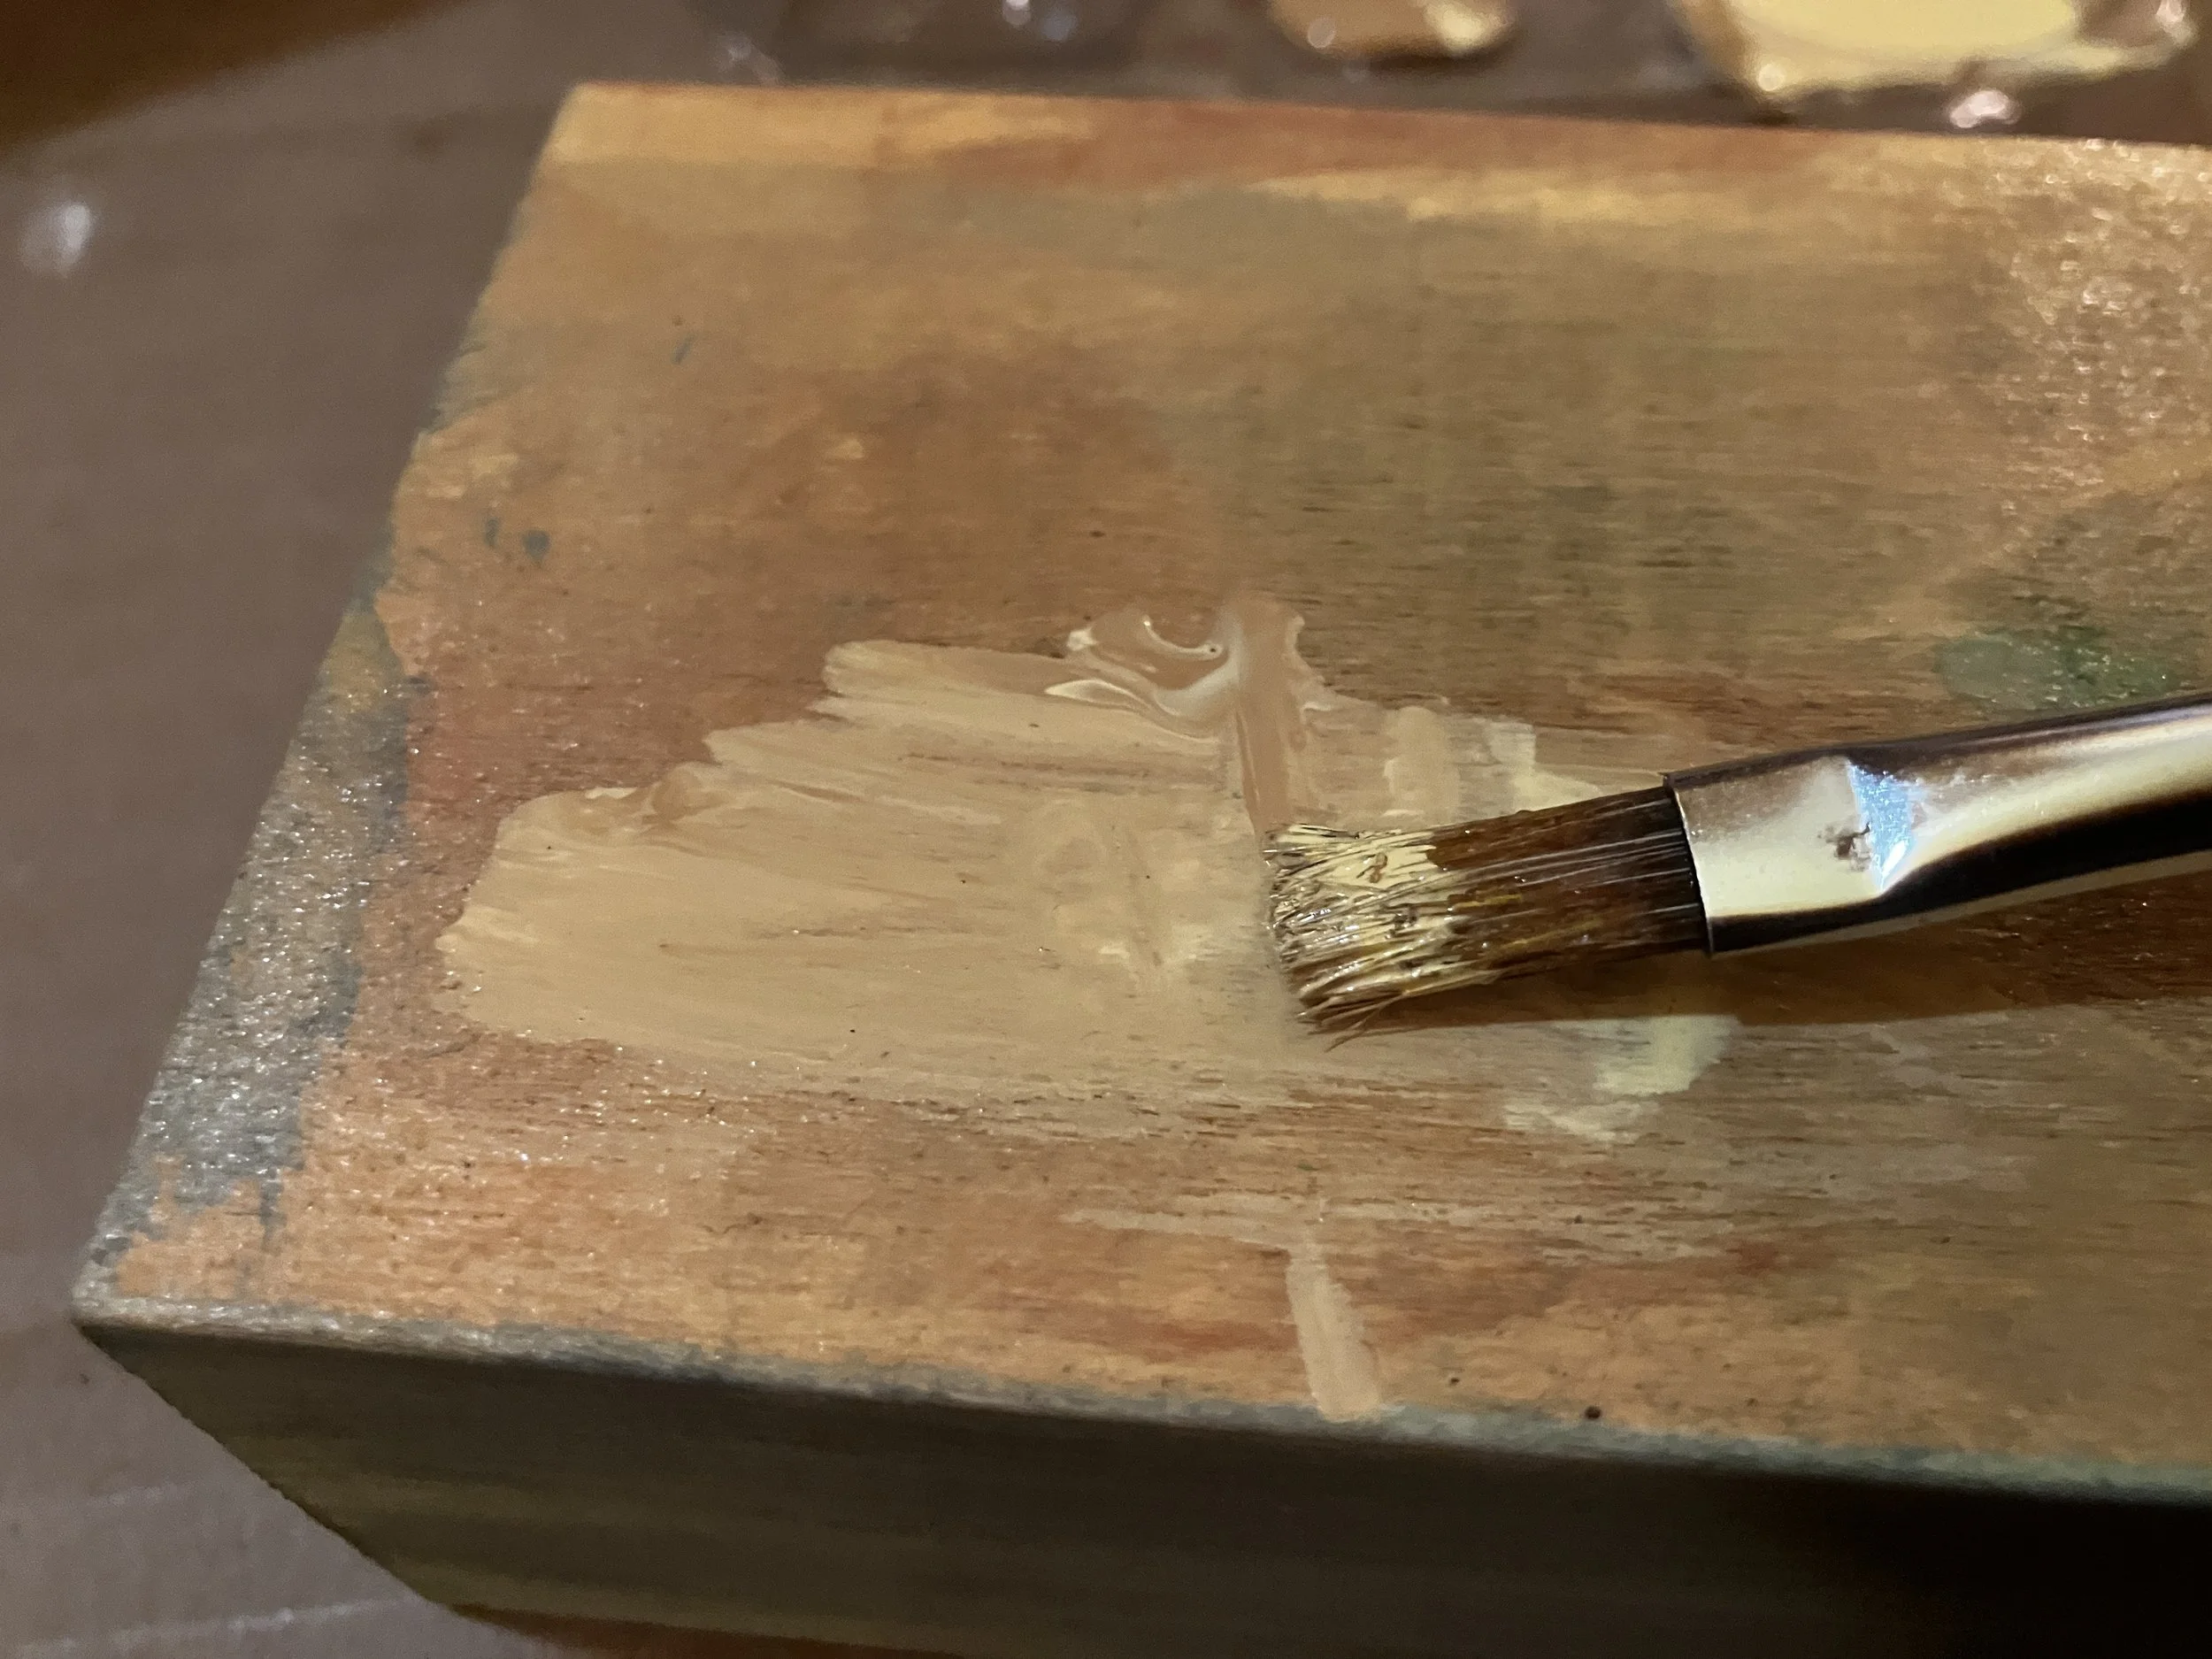
Step 3: Best Transfer Medium for Wood Image Transfers
Using a brush, apply a medium-to-thick, even layer of Liquitex to:
The painted wood surface
The printed side of the image
Be sure the entire image is fully covered—dry or thin spots can cause missing areas in the final transfer.
Step 4: How to Transfer an Image onto Wood
Carefully place the mirrored image face down onto the wood.
Burnish gently from the center outward using a credit card.
Remove air bubbles and press the image down evenly.
Wipe away excess goop around the edges.
Let it dry overnight or at least 8 hours. A hairdryer can help slightly, rushing this step often leads to poor results.
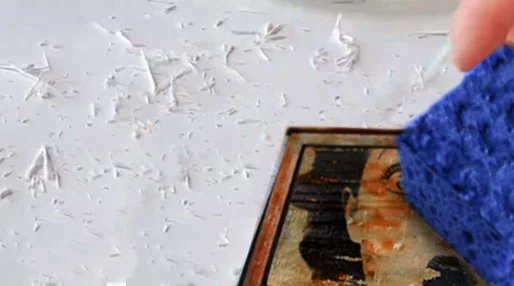
Step 5: How to Remove Paper from a Wood Image Transfer
This step requires patience.
Dampen the back of the paper with water using a soft sponge or brush.
Gently rub away small layers of paper with your finger.
The paper will pill and come off in tiny bits, little-by-little.
If it dries out, start over with the water application on the back of the paper. Repeat until only the image remains. (If the image begins lifting—stop—let it dry completely, and then continue gently.)
It should look like these paper bits →
Step 6: How to Seal a Wood Image Transfer
Once the image transfer is fully dry:
Apply light, even coats of acrylic enamel spray.
Let each coat dry before applying the next one.
This step protects the surface while maintaining the texture and handmade feel of the transfer.
Tips for a Successful Wood Image Transfers
Always mirror your image before printing
Use laser prints for best results
Don’t rush drying times
Embrace imperfections—they add character
Wood image transfers are beautifully imperfect. Each piece turns out a little differently depending on paint texture, pressure, and paper removal. That uniqueness is part of what makes them special.
Whether you’re creating handmade gifts, custom decor, or experimenting with mixed media, this laser print image transfer on wood technique is an easy and rewarding project to try.
* The links on this page go to an Amazon Affiliate account. *
Want to see more unique gifts from past years? Save this tutorial or share it with a creative friend.